Part II - Creating a light module
|
Part I - Installing and setting up the CLI and Magnolia is a prerequisite to Part II. |
In the second part of this tutorial, you create a light module called
bucket-list-module. From there we create templates to build out the
list. Each page represents an item on our list. Each component provides
a way of adding content to the bucket list, such as a description of the
activity or an image to illustrate it.
Create a light module
To create a light module, open the light-modules directory and run the
following command in a shell:
mgnl create-light-module bucket-list-moduleIn this tutorial, the module is called bucket-list-module.
The following directory tree is created:
light-modules/bucket-list-module/
├── README.md
├── decorations
├── dialogs
│ ├── components
│ └── pages
├── i18n
│ └── bucket-list-module-messages_en.properties
├── includes
│ └── README.txt
├── templates
│ ├── components
│ └── pages
└── webresources
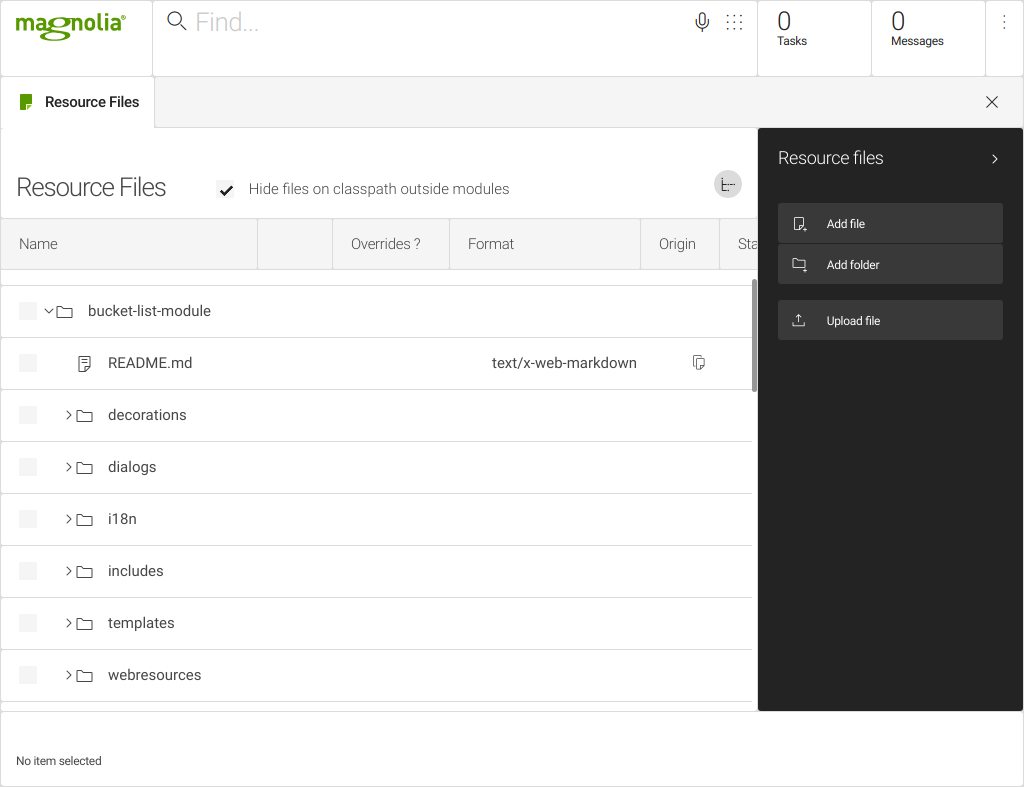
Check the result in Magnolia:
-
In Magnolia, use the Find Bar to search for and open the Resource Files app or click the (mgnl-app-launcher: []) icon to the right of the find bar and then the Resource Files app tile.
-
Check the light module you created appears in the browser:
|
Search for apps or for content across all your apps using the
Find Bar. Open an app directly from the Find
Bar using the command |
Create a page
In the shell, change into the bucket-list-module folder and run the
following command:
mgnl create-page bucket-list -P my-page-prototypeThis command creates all the files needed for a page template definition
called bucket-list based on the my-page-prototype variant you
created.
Additional files are created in the module tree:
light-modules/bucket-list-module/
├── README.md
├── decorations
├── dialogs
│ ├── components
│ └── pages
│ └── bucket-list.yaml
├── i18n
│ └── bucket-list-messages_en.properties
├── includes
│ └── README.txt
├── templates
│ ├── components
│ └── pages
│ └── bucket-list.ftl
│ └── bucket-list.yaml
└── webresources
    └── css
       └── bucket-list.css
Check the result in Magnolia:
-
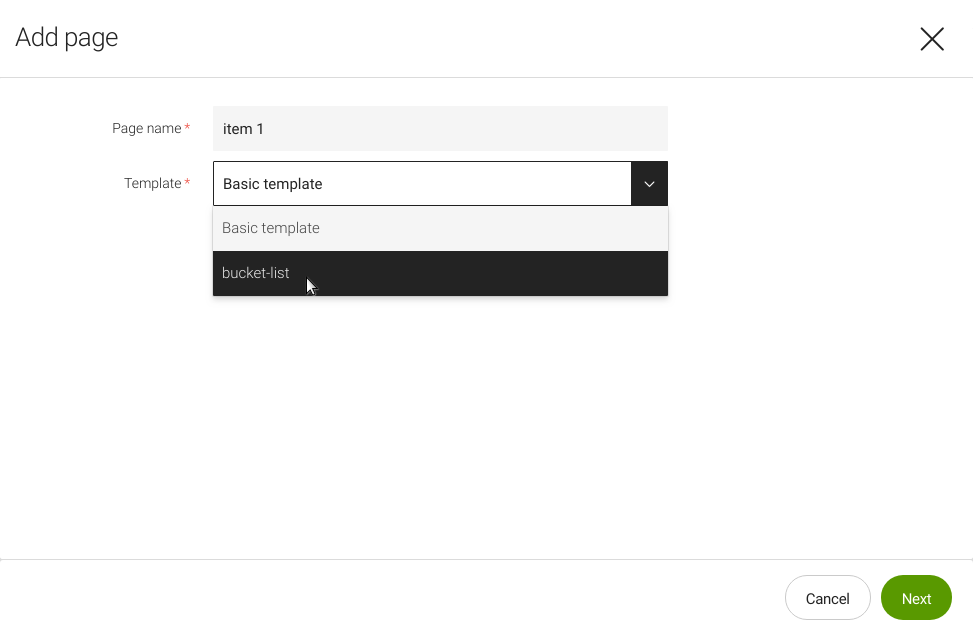
In Magnolia, open the Pages app.
-
Click Add page.
-
Enter the name
item 1for your page. -
Select the
bucket-listtemplate for your new page and click Next.
-
Enter the title
Dive with sharksin the page properties dialog.
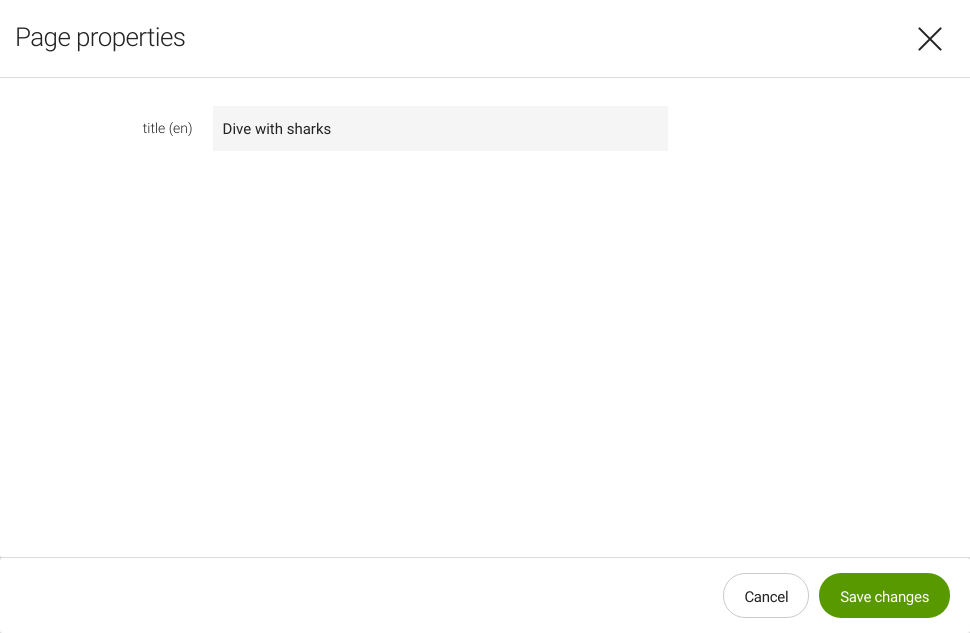
NOTE: This dialog is based on the<light-modules>/mgnl-cli-prototypes/page/my-page-prototype/templates/pages/name.yamlvariant you created. -
Save your changes.
-
Open the page.
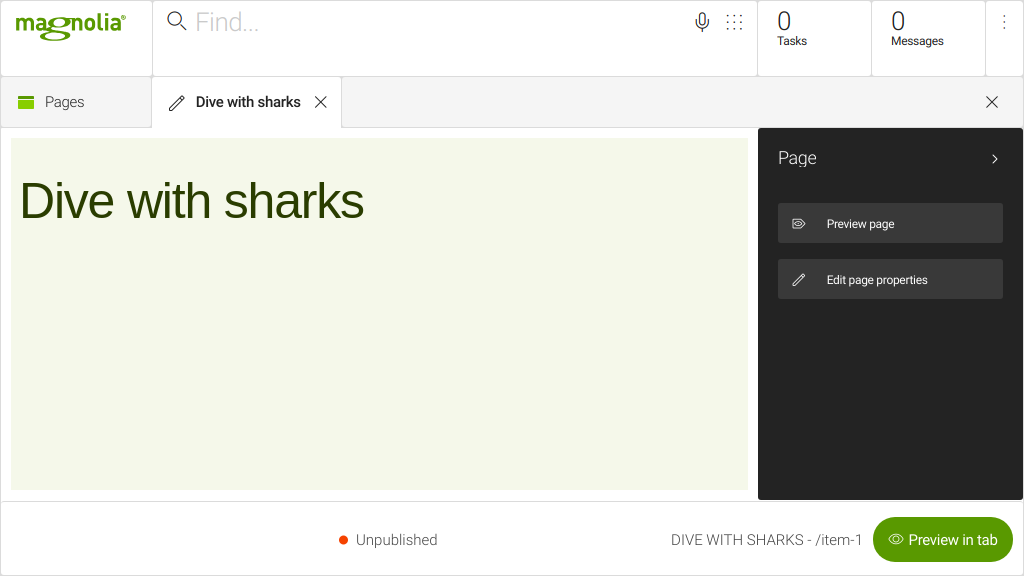
Note that there is no main area or component on the page you created yet but you can already see the styling from the CSS file you added in the prototype variant.
Create the activity component
First we add an activity component to provide a title and description
for the activity in the bucket list.
To create a component called activity, make sure you are still in the
bucket-list-module folder and run the following command in a shell:
mgnl create-component activity -P my-component-prototypeGo to Magnolia again and refresh your page.
Note that there is still no main area or component on the page you created.
Make the activity component available
Run the following command in a shell:
mgnl add-availability activity bucket-list@mainNow you should move the FreeMarker expression [@cms.area name="main"/]
to inside the HTML body tag
in your pages template script.
To do so:
-
Open your
light-modules/bucket-list-module/templates/pages/bucket-list.ftlfile in a text editor. -
Add a
<div/>element with the area just below the<h1/>element. -
Move the expression
[@cms.area name="main"/]to inside the new<div/>element.light-modules/bucket-list-module/templates/pages/bucket-list.ftl
<!DOCTYPE html>
<html xml:lang="${cmsfn.language()}" lang="${cmsfn.language()}">
  <head>
   <link rel="stylesheet" type="text/css" href="${ctx.contextPath}/.resources/bucket-list-module/webresources/css/bucket-list.css" media="all" />
    [@cms.page /]
    <title>${content.windowTitle!content.title!}</title>
  </head>
  <body>
    <div class="container ">
      <h1>${content.windowTitle!content.title!}</h1>
      <div class="main">
         [@cms.area name="main"/]
      </div>
    </div>
  </body>
</html>
+
The FreeMarker expression [@cms.area name="main"/] includes the area.
The <div class="main"> element wraps the expression for styling
purposes.
Go to Magnolia again and refresh your page. Note that the component
activity is available in a new area called main.
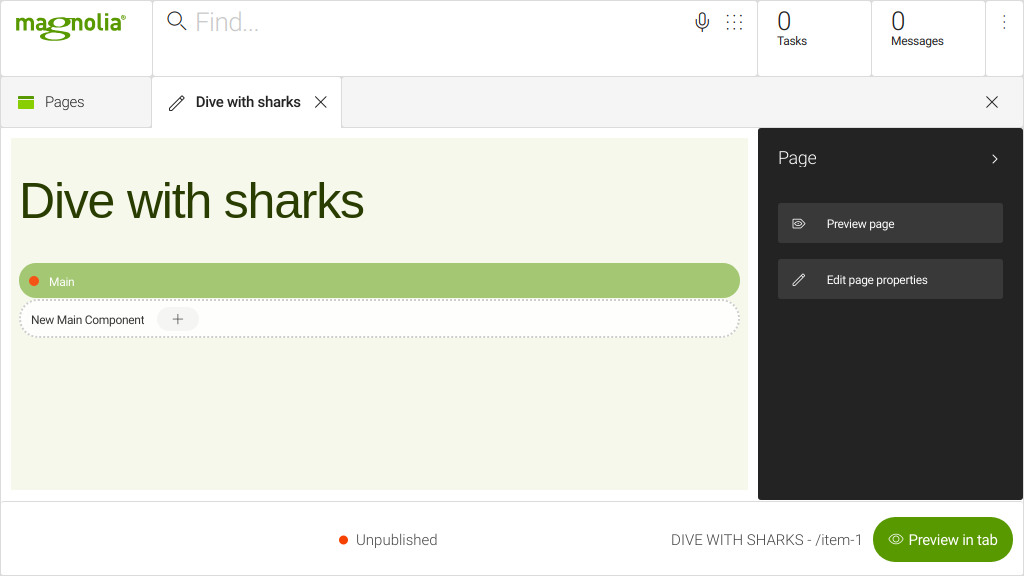
Click the New main component green bar to add the component to your page.
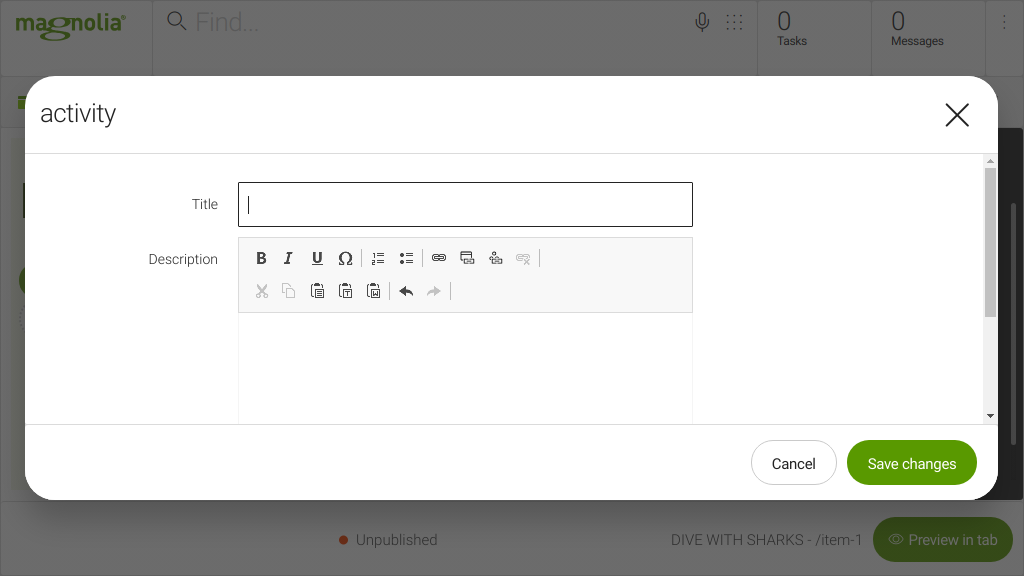
This dialog is based on the
<light-modules>/mgnl-cli-prototypes/component/my-component-prototype/templates/component/name.yaml
variant you created.
|
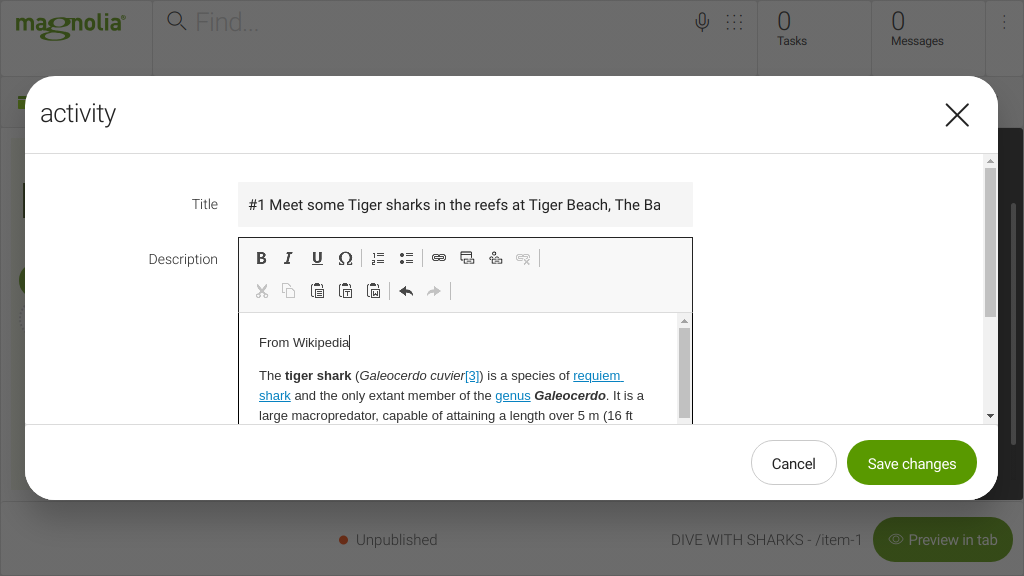
Go ahead and add a title and description for the first item on your bucket list.
In our example, the activity is diving with tiger sharks:
Add availability for some pre-existing components
You can make components from other modules, light or otherwise, available in your page template. We will make the following two components provided by the Magnolia Templating Kit module available in our page (in the main area):
-
imagecomponent, to provide an illustration for our bucket list item. -
linkListcomponent, to make a list of links to the different item pages.
To make the image component available, run the following command in a shell:
mgnl add-availability mtk2:components/image pages/bucket-list@mainTo make the link list component available, run the following command in a shell:
mgnl add-availability mtk2:components/linkList pages/bucket-list@mainWhen adding a component to your page, you can now select the Image component delivered with the MTK module:
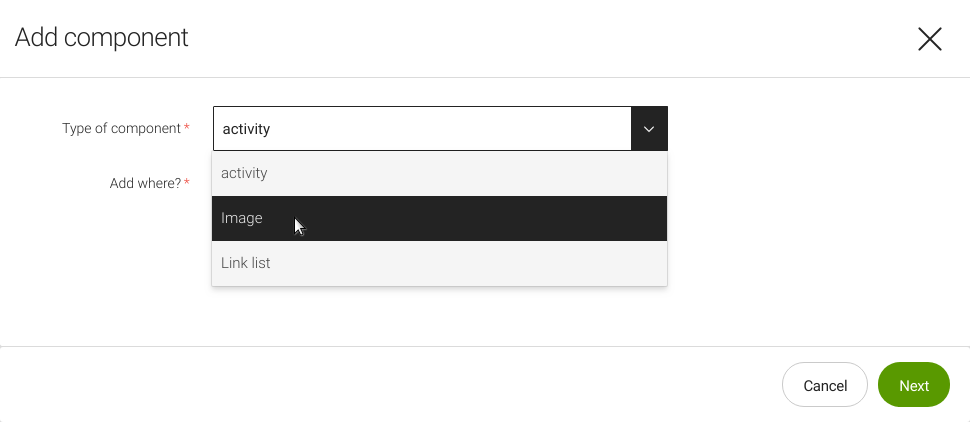
Select the Image component and the before first component option to add the component to your page before the activity component. Upload an image of your choice.
Preview your page:
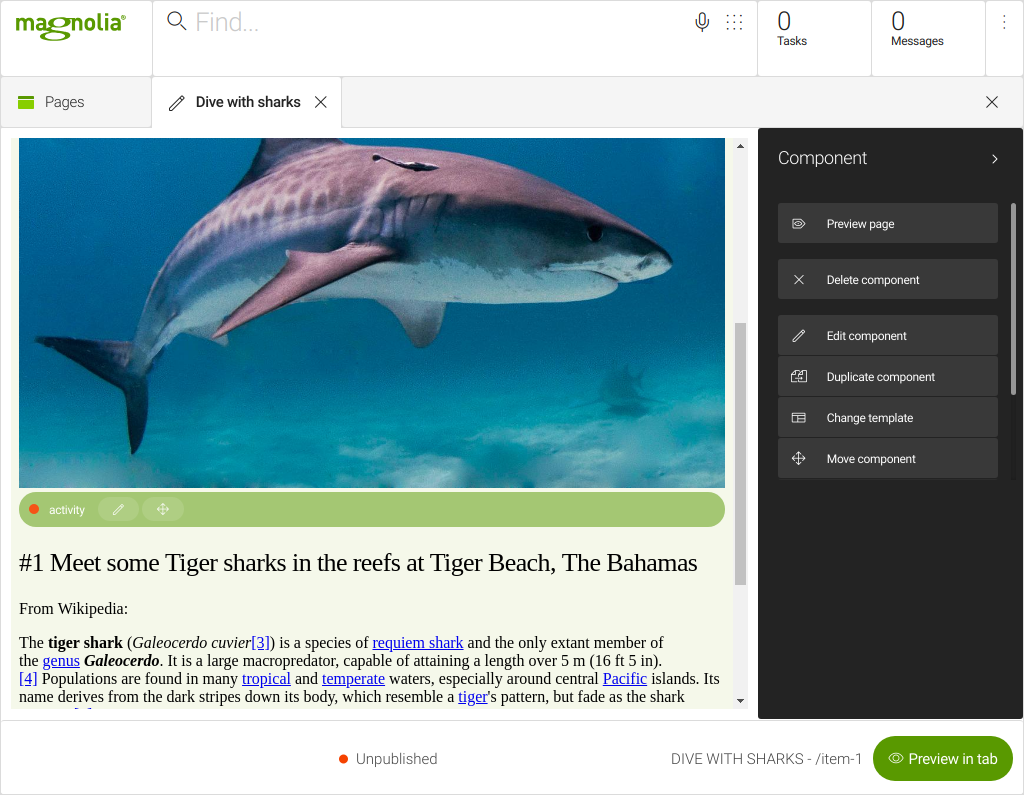
Now repeat the steps to add another page called item 2 with another of
your own top bucket list picks in the activity component. We decided
to go hot air ballooning after shark diving!
Create a parent page to list the items
In the step before we added availability for the Link list component provided by the MTK. Let’s use it to create a parent page listing all the items on our bucket list.
Create a new page called list, based on the bucket-list template,
with the title My bucket list.
Drag and drop your two item pages under the new list page. (If you didn’t create a second item, just move the shark diving page.)

Open the list page and add the Link list component to the main area.
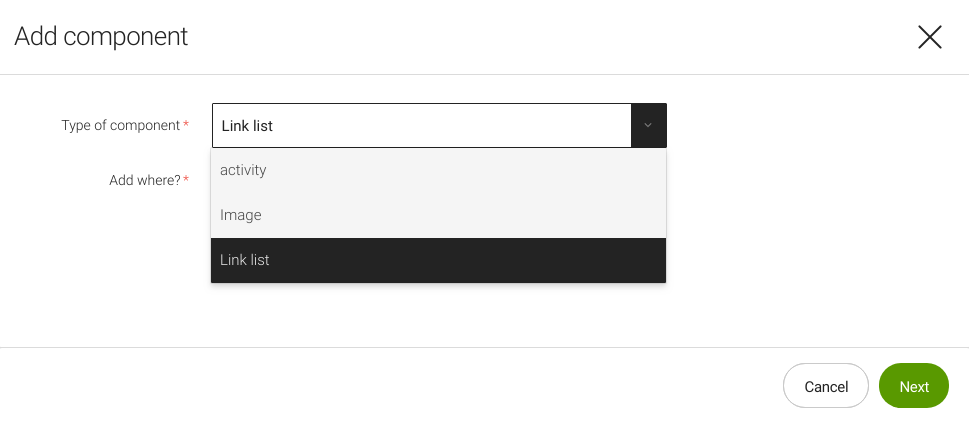
Add a Subtitle and select Ordered list as the list style.
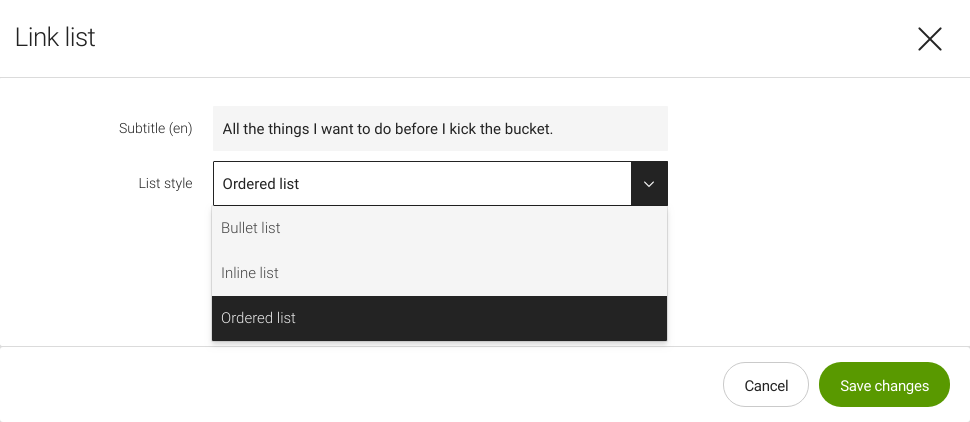
In the Link list component add links to the two item pages. You don’t need to enter a title: the title of the page selected in the Page link field is used by default.
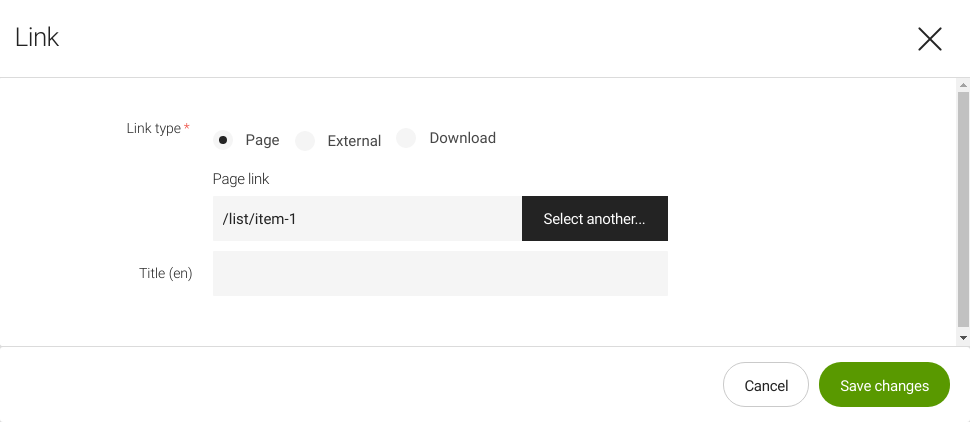
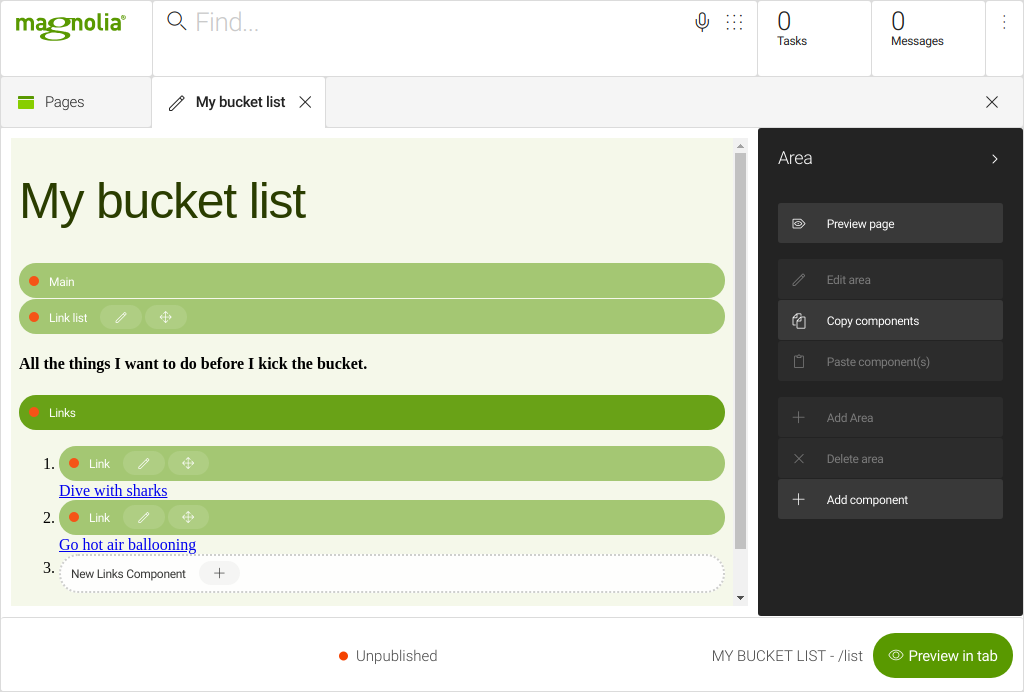
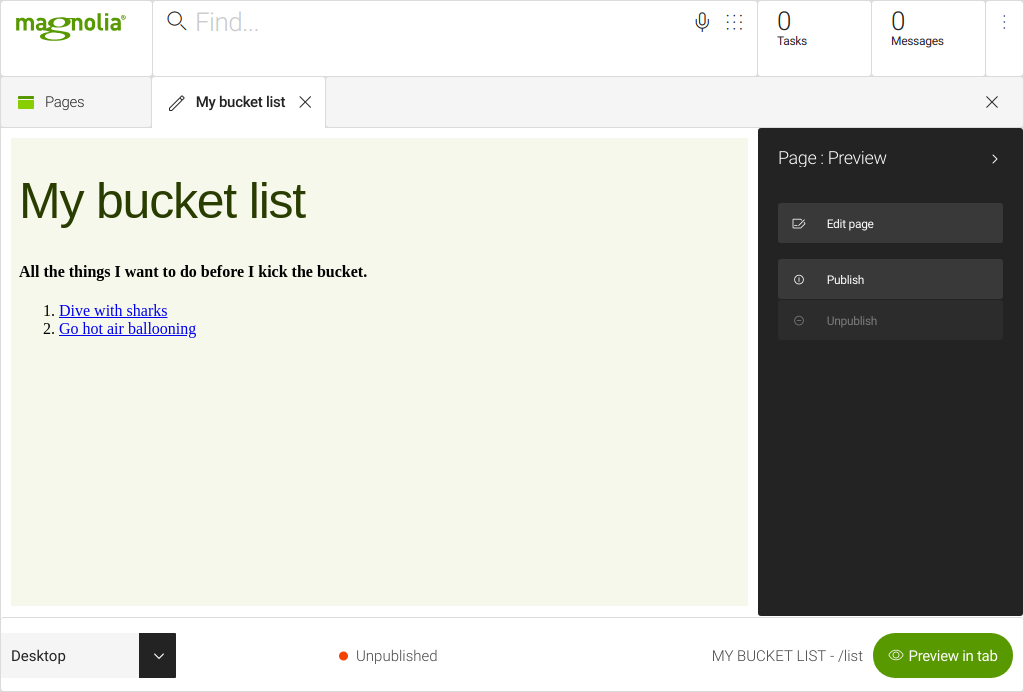
Click Preview page to see what the My bucket list page will look
like once published. You can click on the links you entered to access
your bucket list item pages.
Congratulations! You have used the Magnolia CLI to create a fully functional light module with a page template and several components.
Next: Part III - Reusing a light module from npm
Credits:
-
Tiger shark image by Albert Kok (own work) CC BY-SA 3.0 (http://creativecommons.org/licenses/by-sa/3.0), via Wikimedia Commons.
-
Hot air ballon image by Toni Lozano - https://www.flickr.com/photos/quiero-un-pantano/294472861/ (Frame and watermark cropped out by uploader), CC BY 2.0, https://commons.wikimedia.org/w/index.php?curid=1399945