Campaign manager module
Edition |
Incubator (services) |
||
Issues |
|||
Git |
|||
Latest |
|
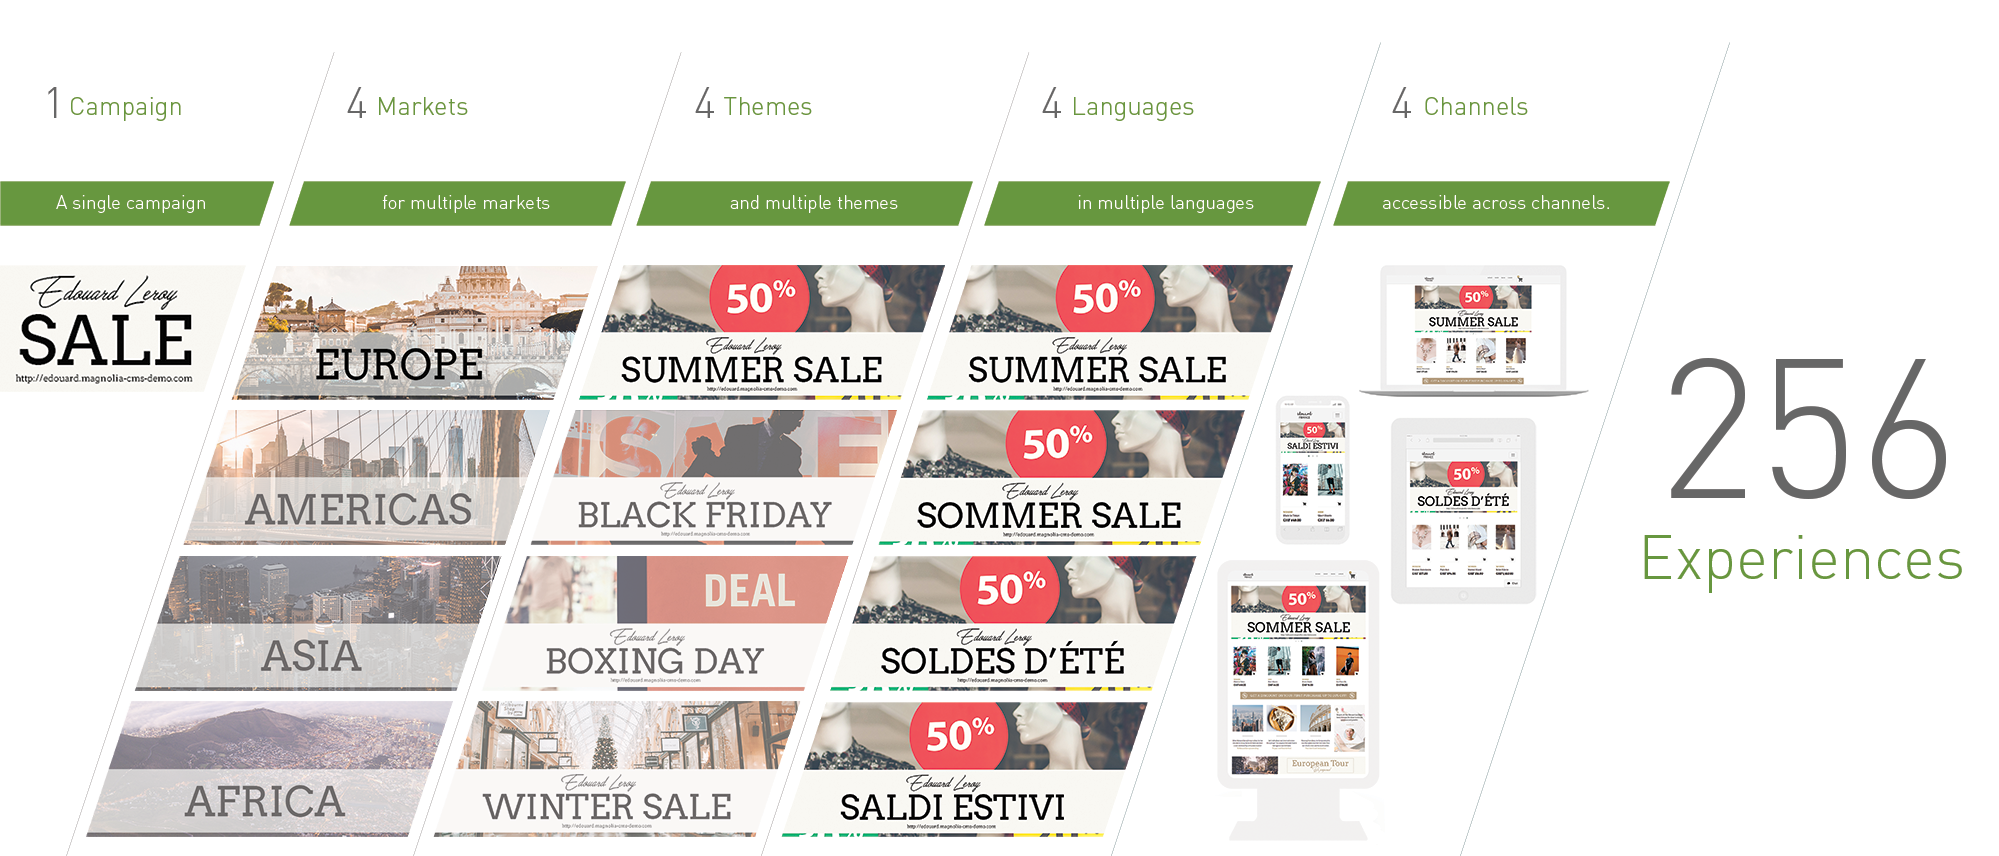
The Campaign Manager module allows you to create, manage and schedule campaigns and rich banners in one place with comprehensive editing options.

Use the Campaign Manager module to craft appealing campaigns with complex layouts.
Each campaign you create is essentially a component you can then use in a page. While content apps focus on managing structured content, the Campaign Manager module provides an authoring experience similar to that of the Pages editor with visual feedback and layout capabilities.
|
This module is at the INCUBATOR level.
|
Installing with Maven
Maven is the easiest way to install the module. Add the following to your bundle:
<dependency>
  <groupId>info.magnolia.campaign</groupId>
  <artifactId>magnolia-campaign-manager</artifactId>
  <version>3.1.12</version>
</dependency>
<dependency>
<groupId>info.magnolia.campaign</groupId>
<artifactId>magnolia-campaign-manager</artifactId>
<version>3.0.8</version>
</dependency><dependency>
<groupId>info.magnolia.campaign</groupId>
<artifactId>magnolia-campaign-manager</artifactId>
<version>2.0.6</version>
</dependency><dependency>
<groupId>info.magnolia.campaign</groupId>
<artifactId>magnolia-campaign-manager</artifactId>
<version>2.0.6</version>
</dependency>Usage
Creating managed campaigns requires the proper configurations to be in place first.
templates:
  templateScript: /mtk2/templates/pages/basic.ftl
  basic: mtk2:pages/basic
  renderType: freemarker

...

areas:
  main: (1)
    availableComponents:
...
  navigation:
...
  pageIntro:
...| 1 | Ensure the main is placed at the top of your areas in your basic.yaml file. Otherwise, it may fail when creating a new campaign. |

Campaign Templates
Campaign templates typically contain a default header and footers to give authors visual feedback on how the campaign will appear.
To make sure that the default headers and footers are not included when the campaign is displayed on a page, the following tags should be applied in your campaign template:
<!DOCTYPE html>

<html lang="en">
    <head>
        [@cms.page /]
        <meta charset="utf-8">
        <meta name="viewport" content="width=device-width, initial-scale=1, shrink-to-fit=no">
    </head>

    <body>
        [#-- Page content --]
        [@cms.area name="main"/]
    </body>
</html>
Creating Campaigns
From the Campaign Manager app you can create and manage campaigns. Click Add campaign schedule to add a new campaign. You are required to provide the following parameters for a new campaign:
-
Name: Give your campaign a meaningful name so that content editors are able to tell one campaign from another.
-
Description: Set a meaningful description to help the other editors to understand the purpose of the campaign.
-
Priority: In case of overlapping campaigns, the system will use that property to prioritise the campaigns.
-
Color: The color to use to identify the campaign in the consolidate calendar view.
-
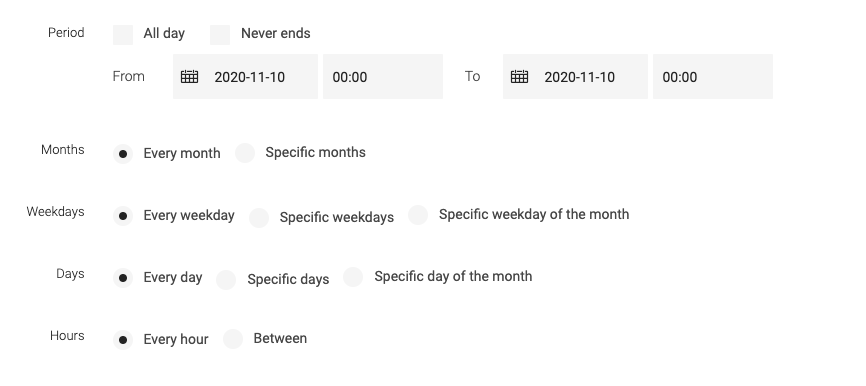
Schedule: Give the campaign schedule.

The campaign acts as a container for the campaign items (aka Creatives). A campaign item is an element of the campaign for defining content. You are required to provide the following parameters for a new campaign item:
-
Name: Each campaign item should define a meaningful name. In most cases "Banner" can be used as a name.
-
Template: Select the campaign template to be used. Campaign templates are defined in the module config here.
-
Tag: Tagging helps identify campaigns of a certain type or category.